Young Adult / making of

( See the Young Adult title sequence here )
It was fun to nerd out with cassette tape decks for the Young Adult title sequence.
In this sequence the camera goes inside Mavis’s (Charlize Theron) car tape deck, revealing the intricate gears and electronics that make it tick. Here’s how we did it:
R&D
First things first! We had to acquire tape decks, dismantle them, and see what they looked like. Jason Reitman (the director) got the ball rolling with this one. He sent us some camera phone shots of an old tape deck he took apart for inspiration:


This was exactly the kind of thing I used to do all the time as a kid. I loved taking apart electronics and seeing what was inside. Jenny and I headed out to an auto scrap yard, and picked up a few tape decks. Here’s what we found:
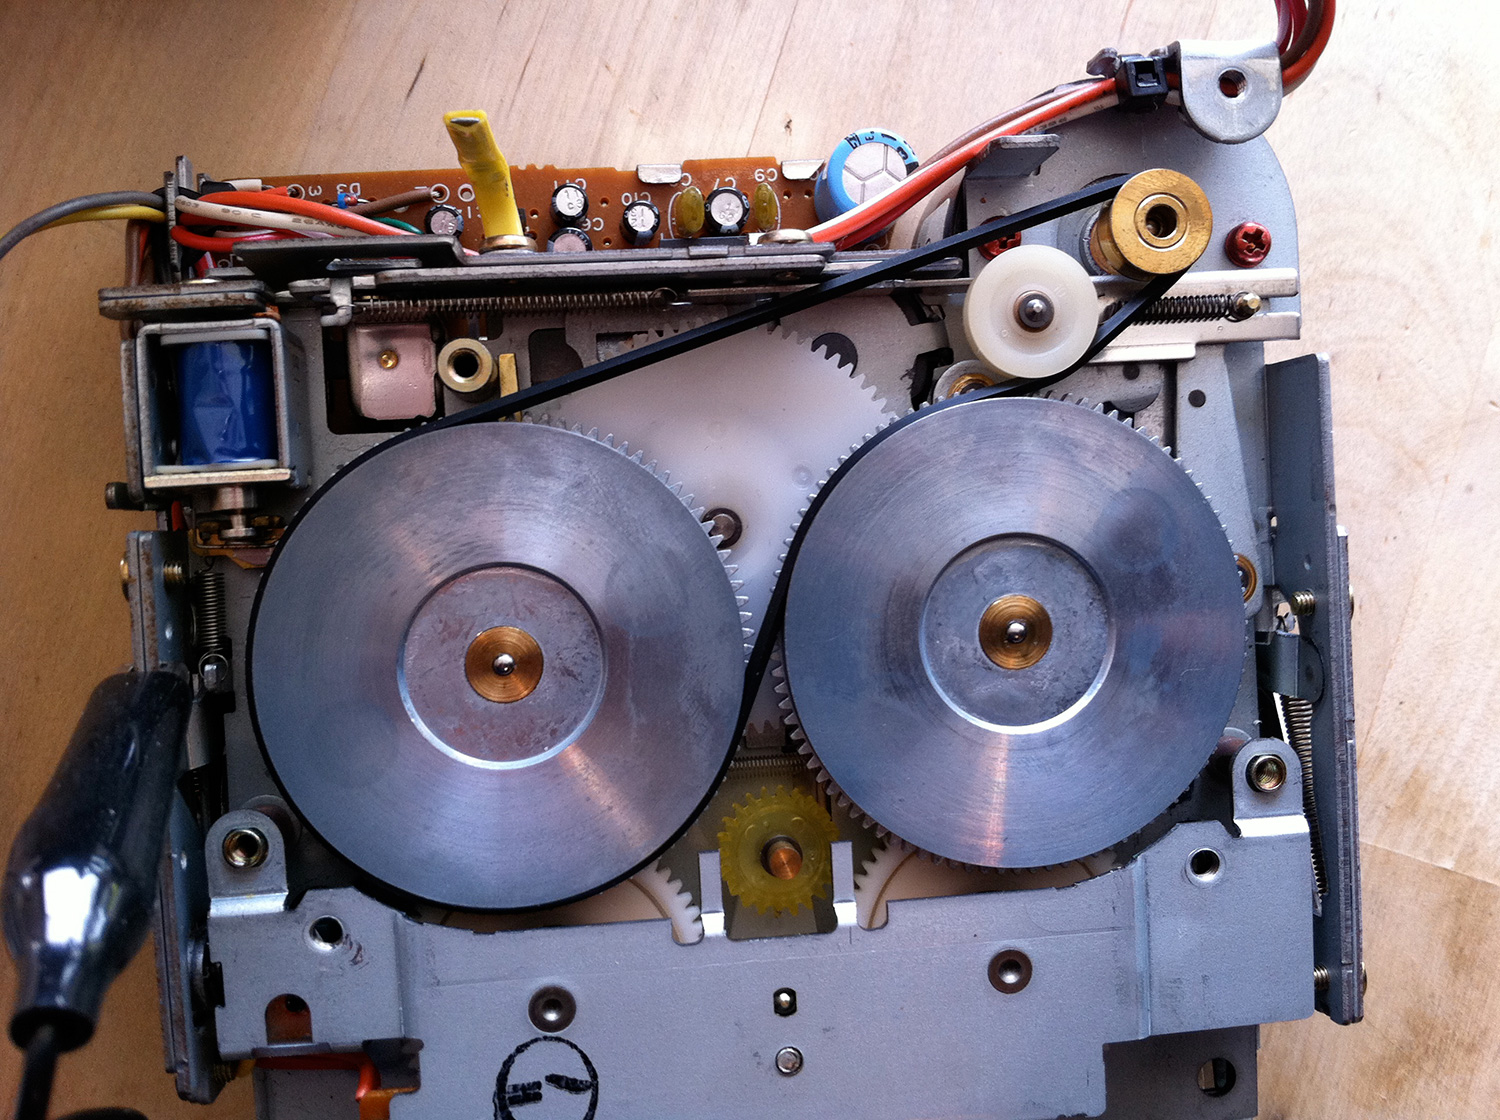
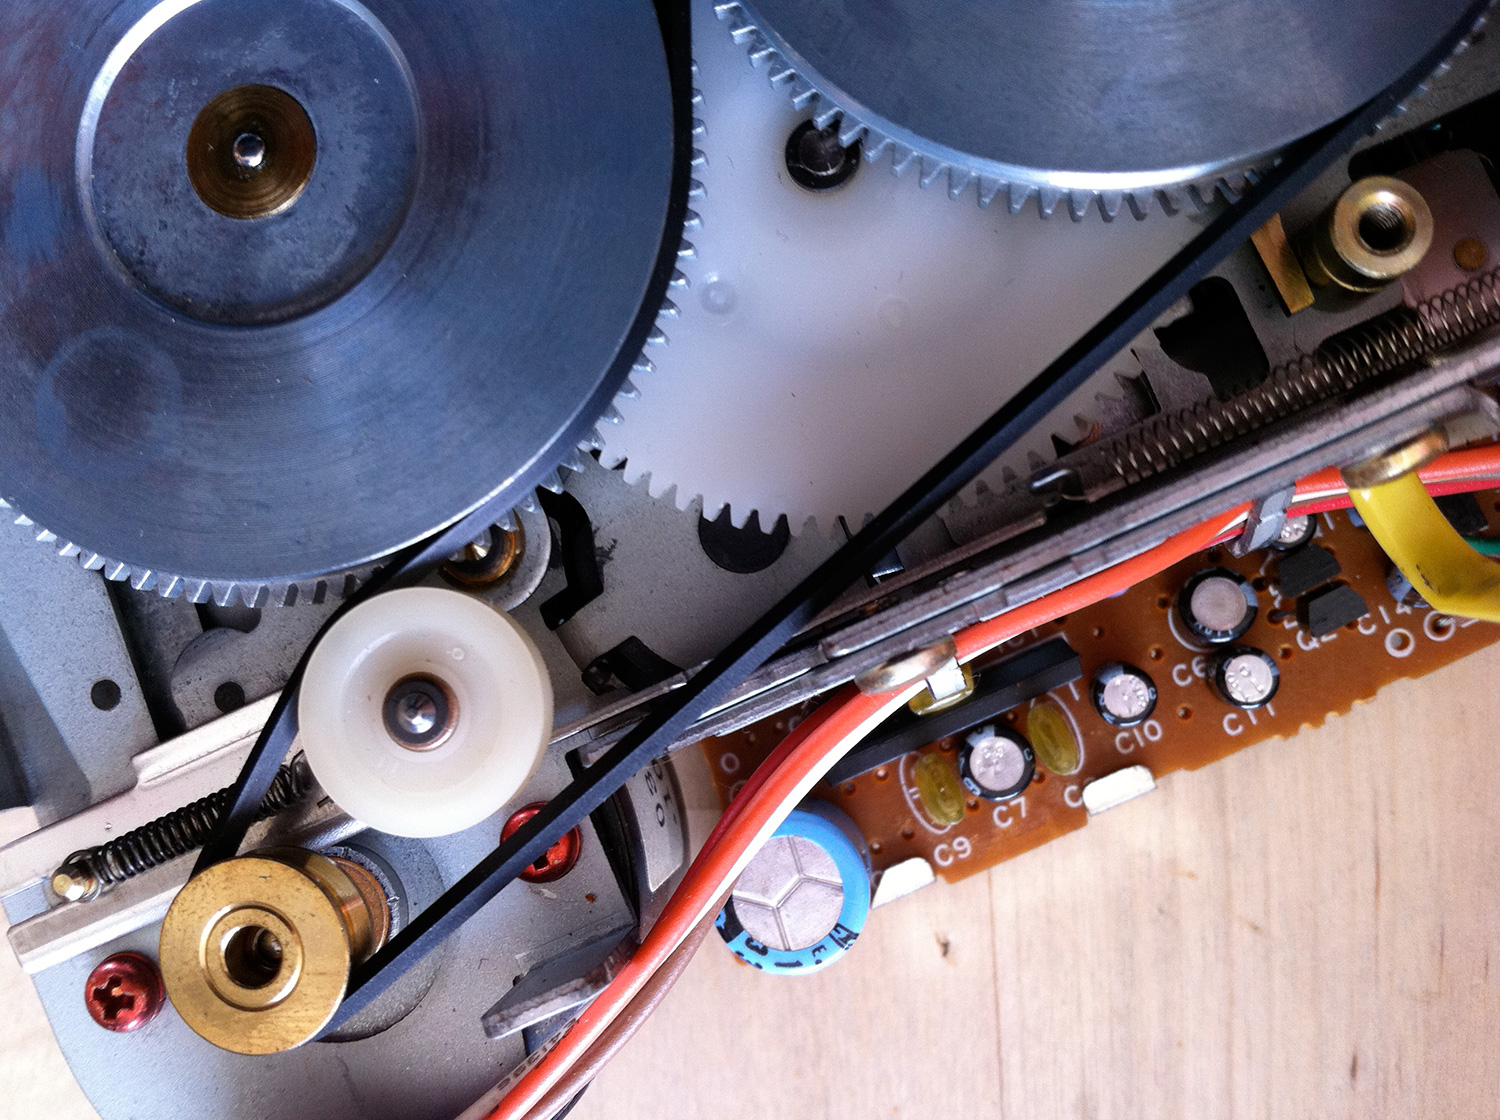

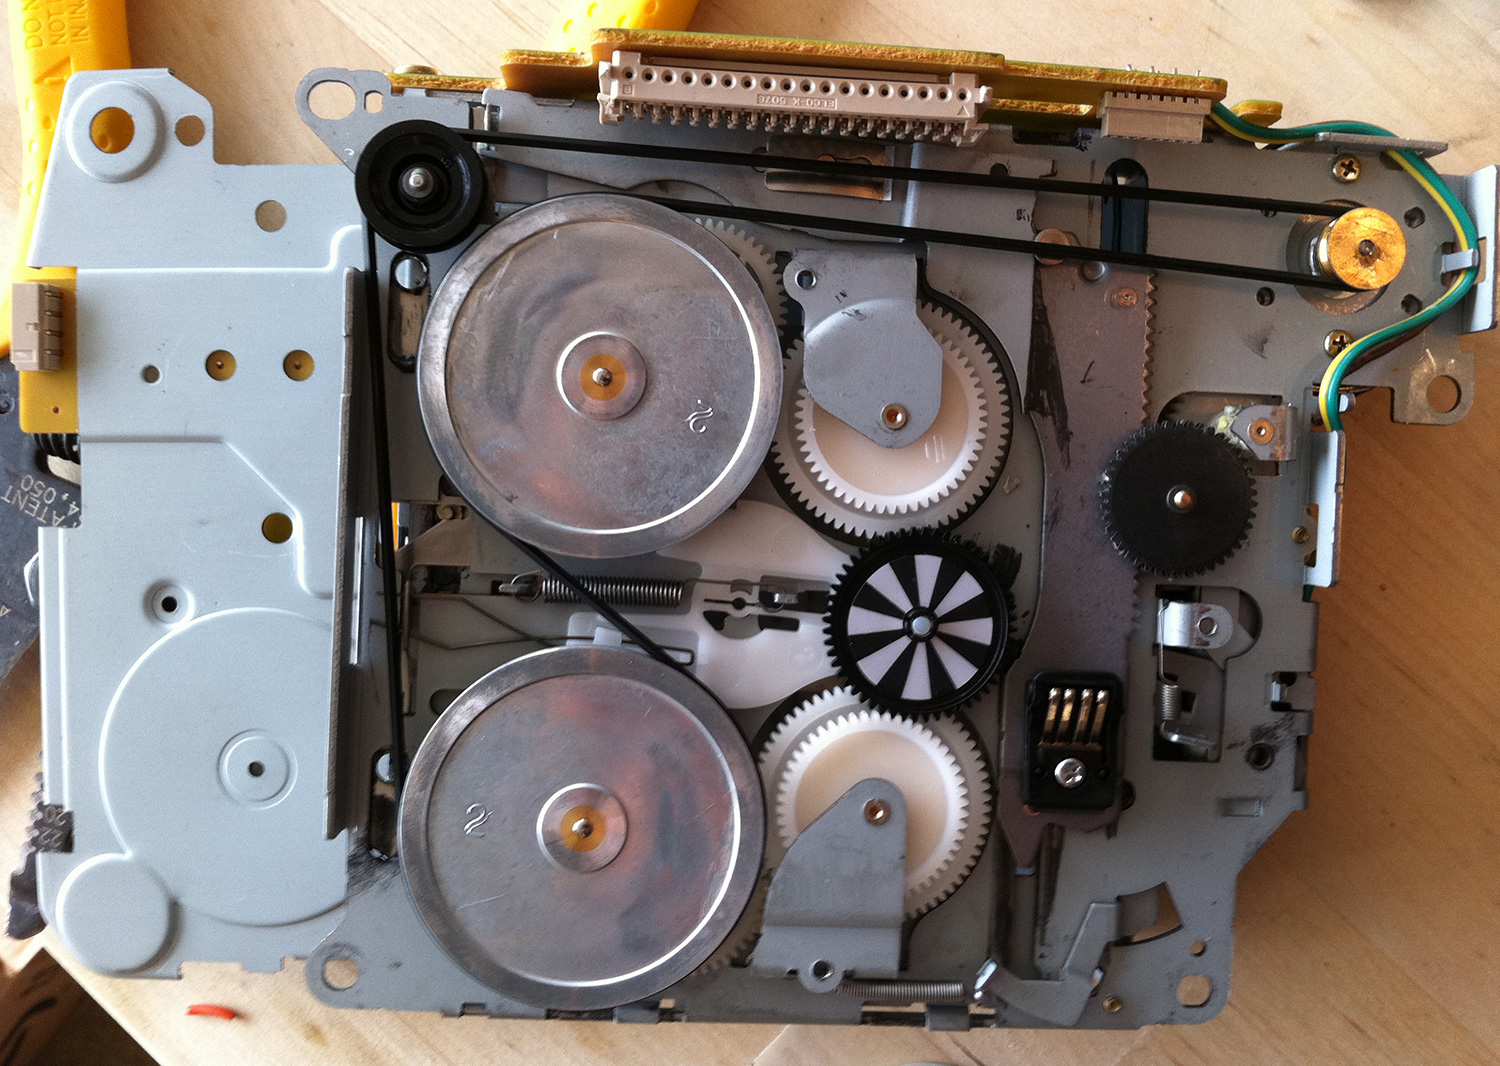
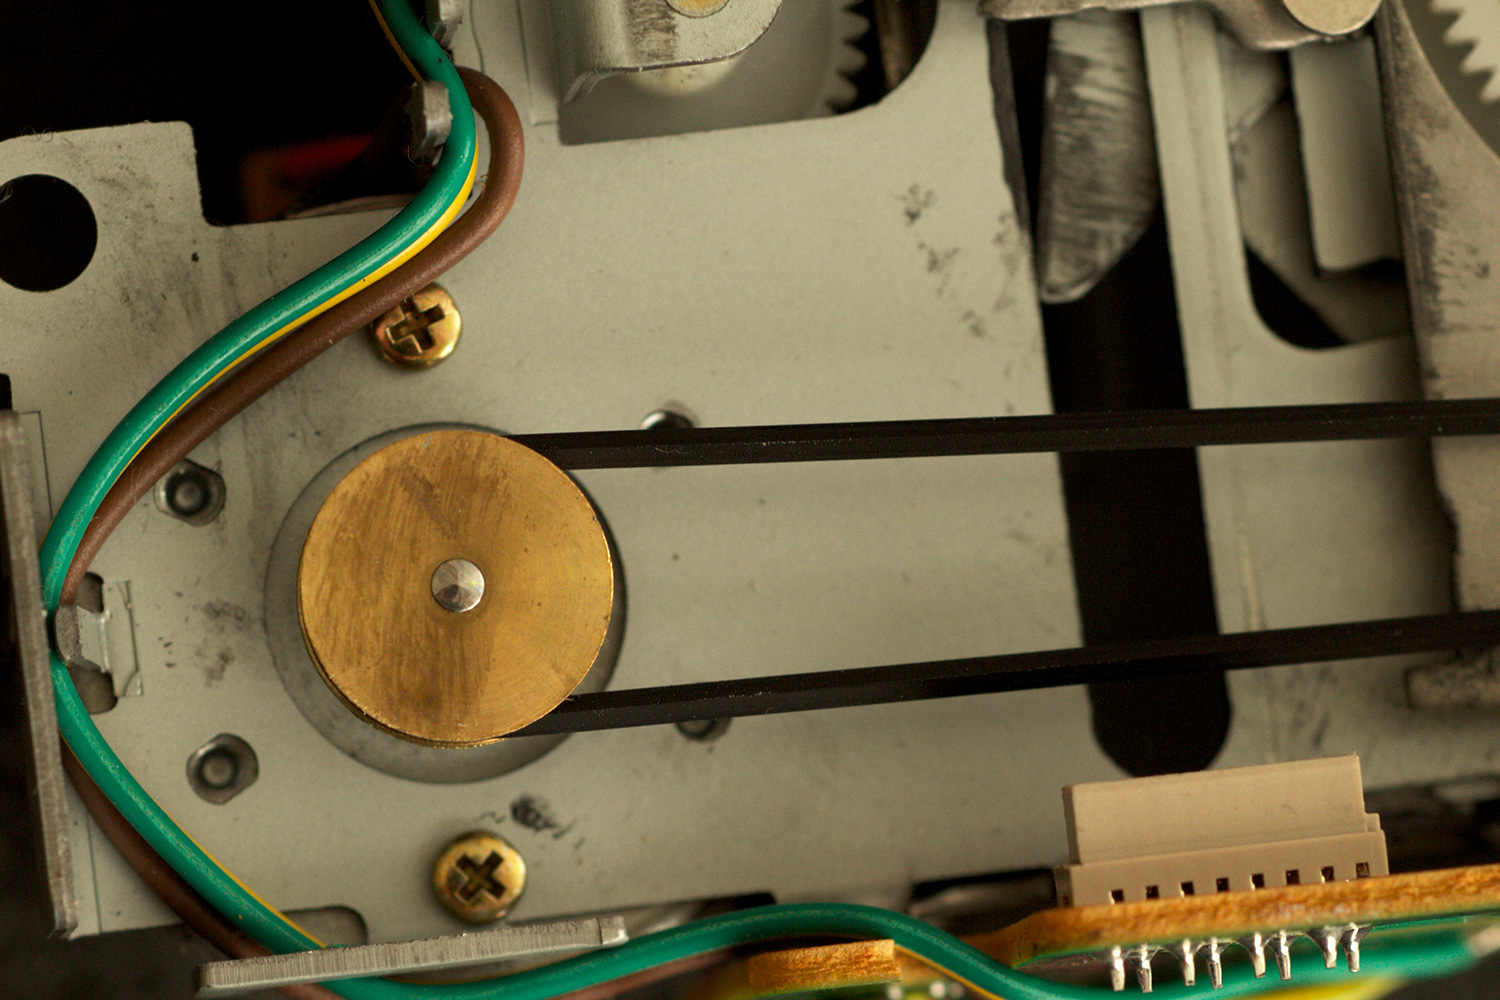
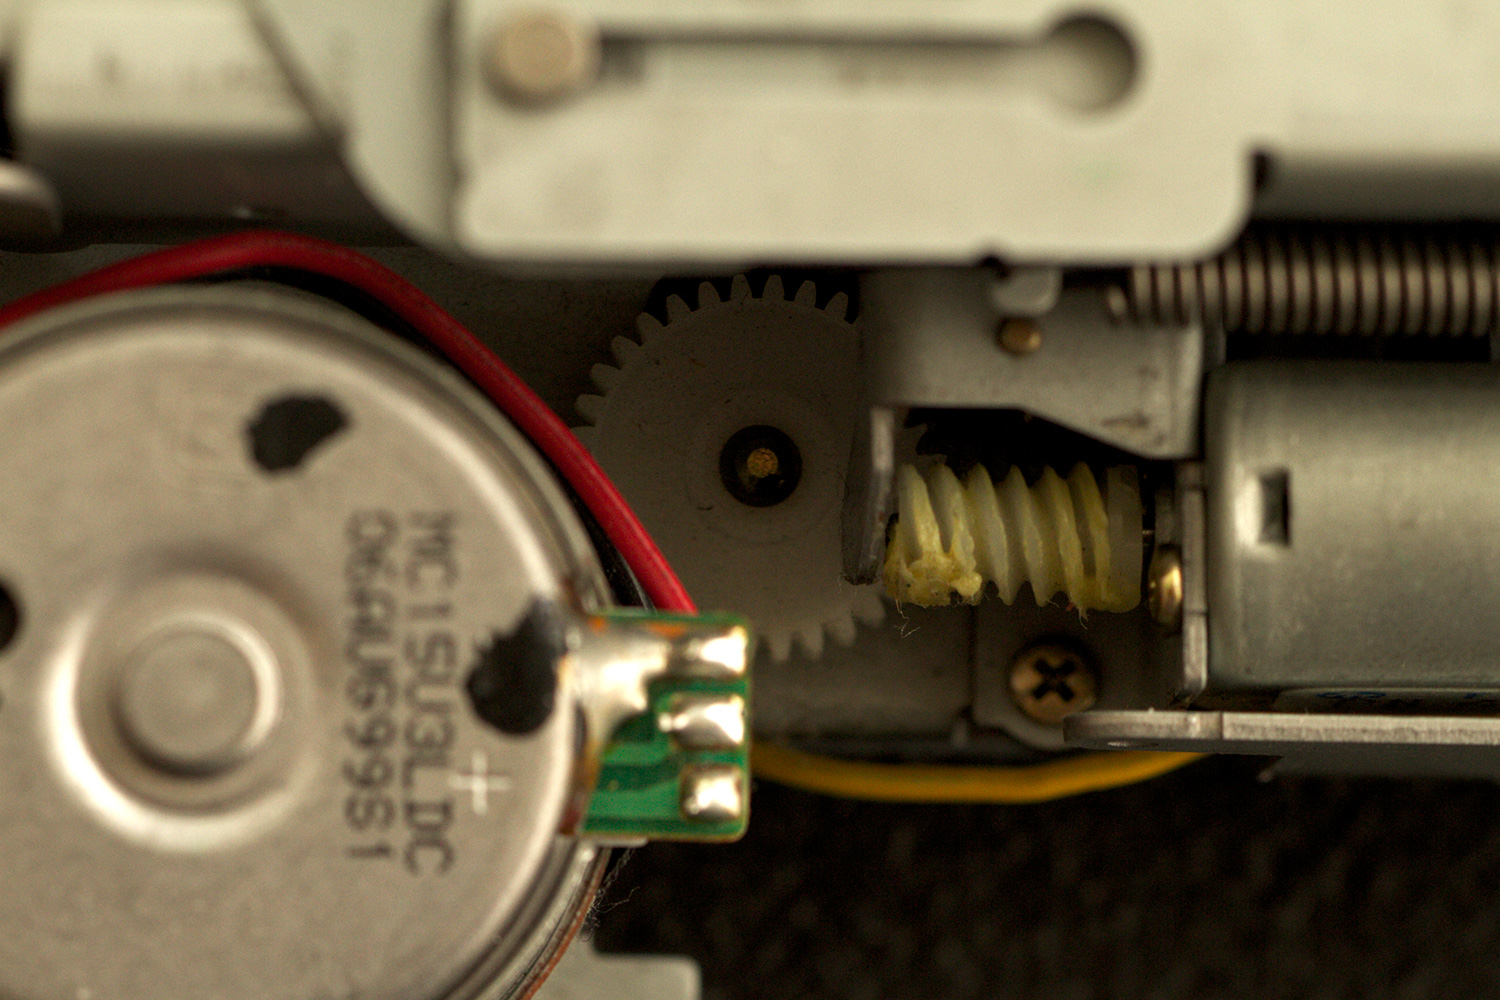
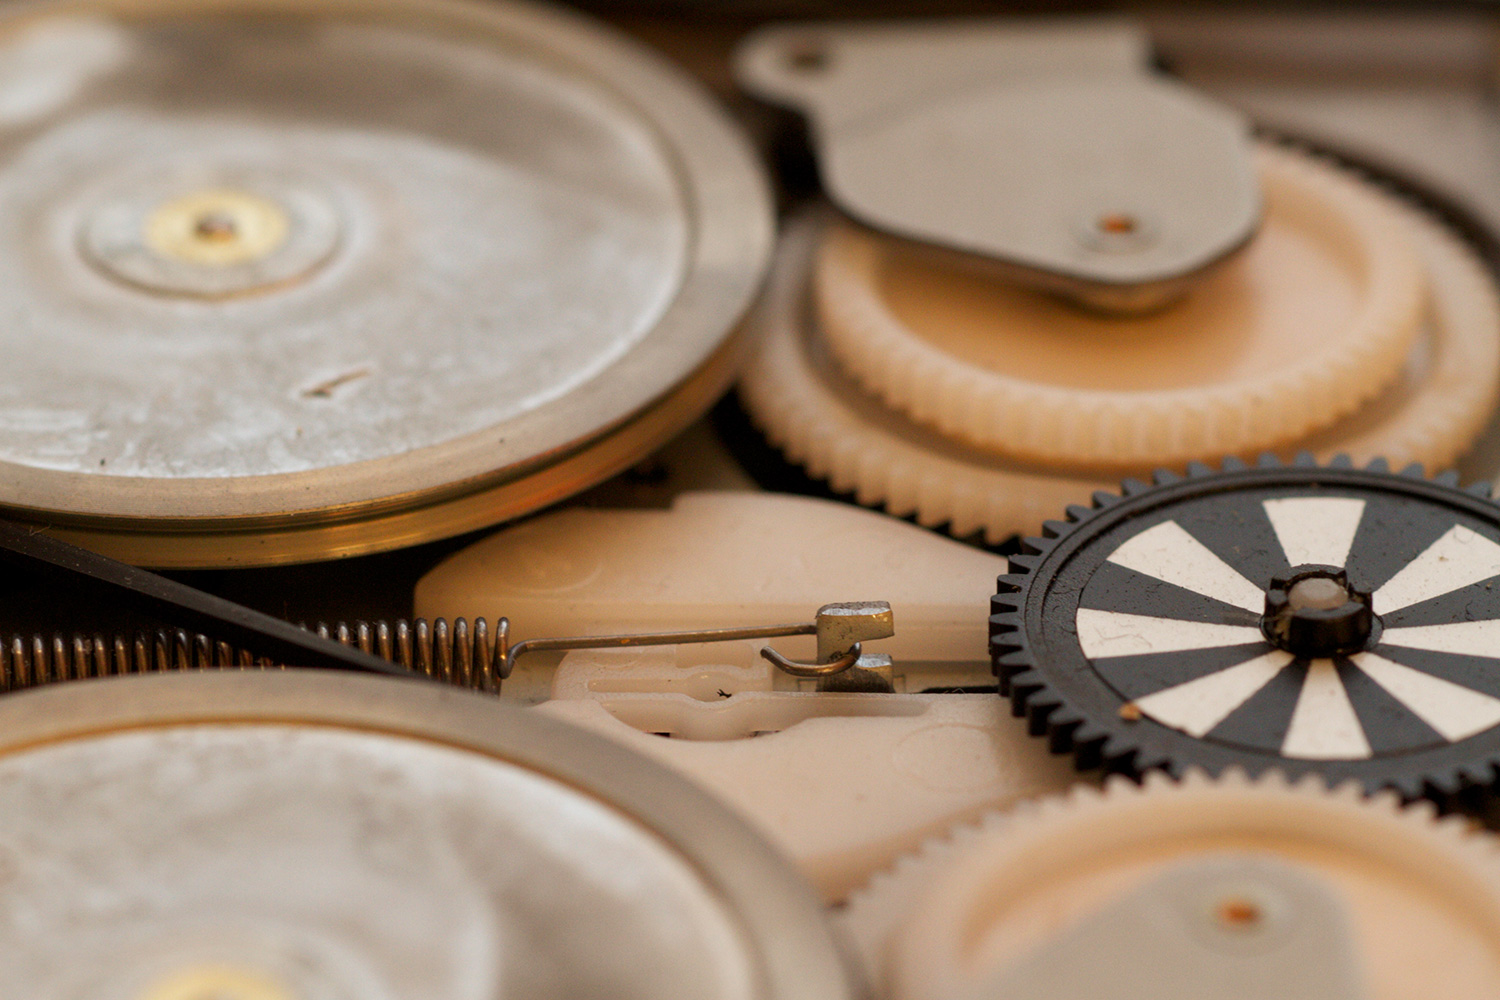
Absolutely lovely stuff, particularly that black and white gear. We tried to avoid those clunky, older looking capacitors since the tape deck was supposed to be in a Mini (which was already a stretch).
Next up - my long time friend Damon, who is very clever when it comes to electronics, figured out how to get the tape decks to work after we dismantled them. Something to do with wires and electricity... Here’s some iPhone video of our early experiments with the motion of the tape decks:
So we had the tape decks, and they worked, and they looked great... next we needed to figure out how to shoot them.
We knew we wanted to have lovely, elegant camera moves in the sequence. The RED was our camera of choice, so we looked around for some gear that we could use to shoot macro while moving the camera.
We found a company called Innovision in Santa Monica that specializes in small product photography. They suggested that we lock-off the camera on a tripod, then move the tape deck (instead of moving the camera). This of course made a lot of sense, since moving a very heavy hi-def camera was much more difficult than moving a tiny tape deck.
We went to Innovision’s facility and tested several pieces of gear:
1. Mini-Mover
This thing’s cool. If you like playing videogames, you’d love this gadget. It’s a remote-control table-top motion control rig. But it’s small, and allows very small, slow moves. The mini-mover is incredibly sturdy, and strong as well. You’ll see it in action a bit further down, but here’s Innovision’s promo video:
2. Table Manners
This is a cute bit of kit. Table Manners is a miniature grip kit. Mini c-stands, mini flags, mini sandbags, etc. If you’re shooting something small, this is a great set of tools to help you out.
3. 6,000 Series Lens
We tested this endoscopic lens, but ultimately decided not to use it. It’s pretty wild though: it's a long, very thin tube that attaches to your camera, allowing you to get inside tiny spaces. We ended up using a traditional macro lens since we didn’t need to actually move inside the tape decks (everything we needed to shoot was on the surface of the tape decks).

Testing the Innovision 6,000 Series probe lens. The probe is that metal rod sticking out the front of the camera.
Later, Brett Juskalian (our DP) joined us and we went to Clairmont Camera to check out some macro lenses for the RED. We ended up selecting the Arri 100mm and 65mm macros. We were able to keep the camera several inches away from what we were shooting.

Jenny testing out a macro lens.
The Shoots
We ended up doing two shoots for the sequence. The first was a test shoot to find out what was possible with the gear and to see what issues we might run into. It’s better to work out the kinks for something like this in advance if possible.
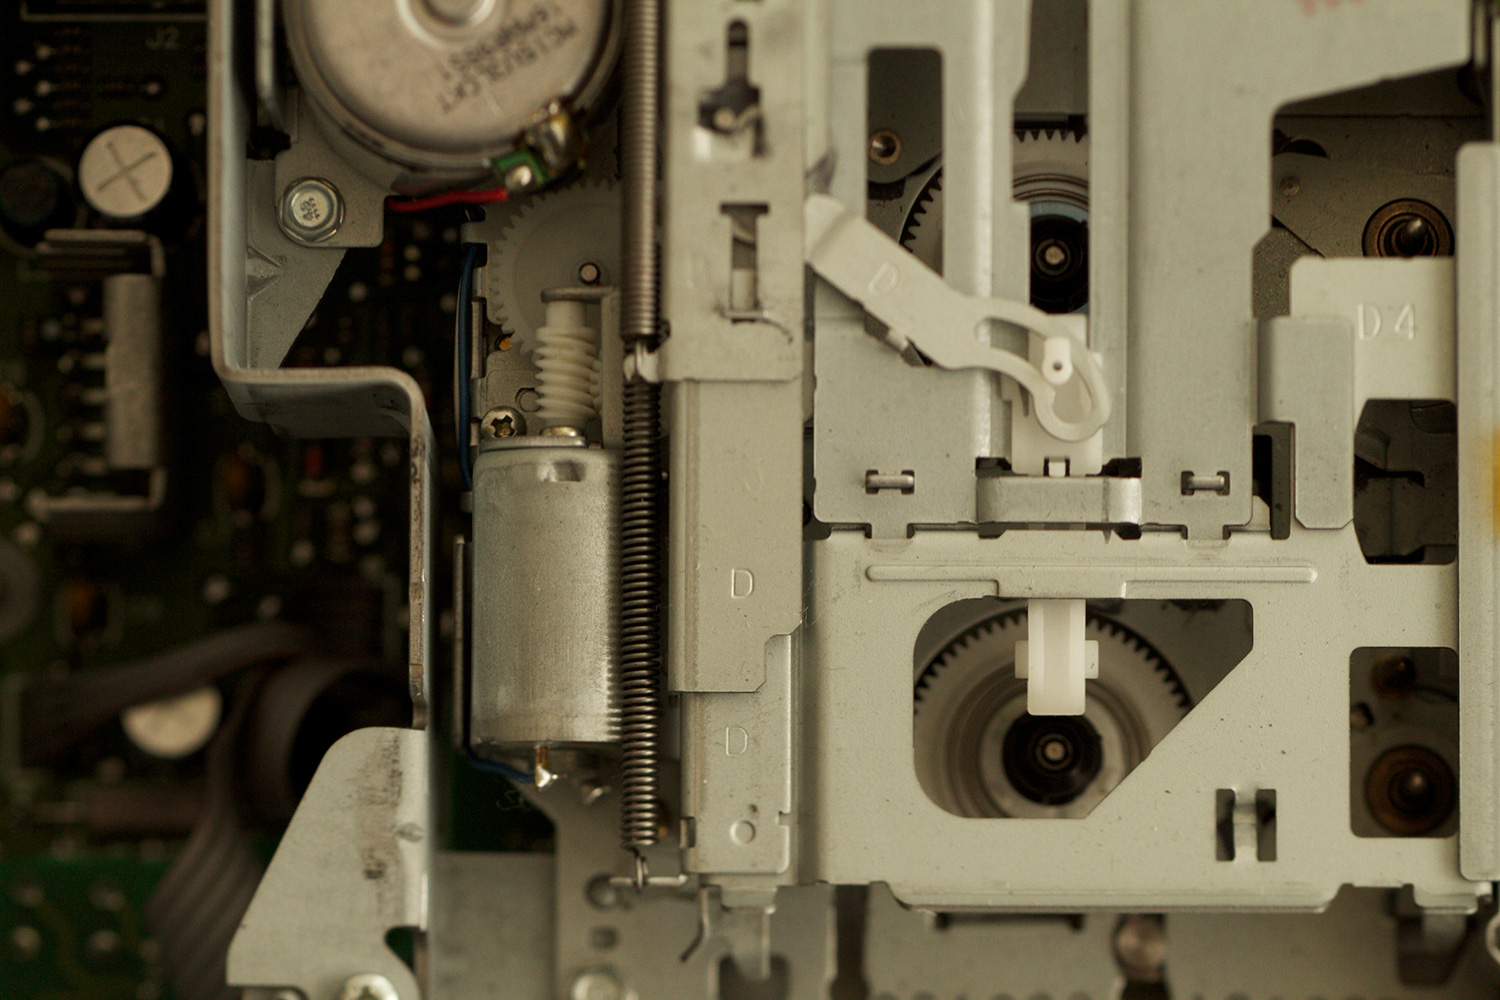
We had access to everything except the Arri lenses for this shoot. We shot the test on Nikon glass, and ended up using quite a bit of the footage in the final sequence. It looked great, but we realized we needed much more space - we shot the test in a tiny office - and more tape decks for visual variety.

All hands on deck! Not enough room!
Brett made some adjustments based on the test shoot. He came up with a large camera rig that would allow us to hang the RED directly overhead and shoot straight down, giving us more room to work with the tape decks.
The second shoot took place in a much larger space, giving us room not only to work, but to run laps as well. We shot all day, getting all sorts of lovely angles and camera moves for the sequence.

As you can see in the above image, the Innovision Mini-Mover system provides two joysticks to control different axis of motion. My years of playing first-person shooters finally paid off.

Those accordion-esque bellows you see above were part of the Mini-Mover. The tape deck sat on a pedestal in the middle of the rig, which moved along the bellows and rotated. The camera stayed in place.

And here I am adjusting something (who knows what) on the motion control rig. That’s Brett, our DP, on the right.

We used tiny LED flashlights to help provide small pools of light in the tape decks.

Here you can see the rails that Brett and his team rigged to hold the camera over the tape decks.

The joysticks used for moving the motion control rig. The focus remote is on the right.

Jenny pretending to know how to solder...

But it was really Damon doing all the work!

Our collection of tape decks to select from at the shoot.
Here’s some rough, hand-held iPhone footage from the shoot, hastily edited for your viewing pleasure! Thanks for reading.